
One of the coolest features of Photobooth Creator is the ability to set up a real-time slideshow of the pictures taken in your booth thus far. This feature emerged from one of the early proto-booths that was set up for an office party we had. To get people to participate, we (using arcane, nerdy computer magic) transferred all the pictures taken to another computer as they were taken. This other computer then ran a slideshow on a projector we had in the office, occasionally reloading the pictures to grab the new ones.
Man, what a headache! As fragile things often do, this "system" kept breaking, requiring me and my coworkers to patch and repair it, in increasing states of inebriation. Nonetheless, it was a great hit and it served the purpose wonderfully: our party attendees would go and take crazy pictures of themselves just to see them show up on the screen.
Luckily, for Photobooth Creator users, it isn't nearly so complicated. Because your booth is hosted on the internet, all of the photos you take are automatically available to other computers as well. Setting up a slideshow like the one at our party is as simple as finding another computer or laptop you can hook up to a TV, projector, or computer monitor! If you're not using Photobooth Creator, you can still have a slideshow, but you'll need something like Dropbox to glue it together.
Setting up a photobooth slideshow
Here's how to set up your slideshow using Photobooth Creator:
Get your photobooth set up and ready to go.. Though not strictly necessary, your slideshow won't work until you have some pictures taken, so go ahead and take a few to test it out. You can always delete them later.
Find another laptop, computer, tablet, or something else you can hook up to a screen: TV, projector, screen, etc. From that device, go to your booth URL (it was sent to you in your receipt email). You'll have to enter your password again, but when you do you'll be at your photobooth dashboard.
From your photobooth dashboard, click the button underneath "Set up a slideshow!" This will bring up the Slideshow page:
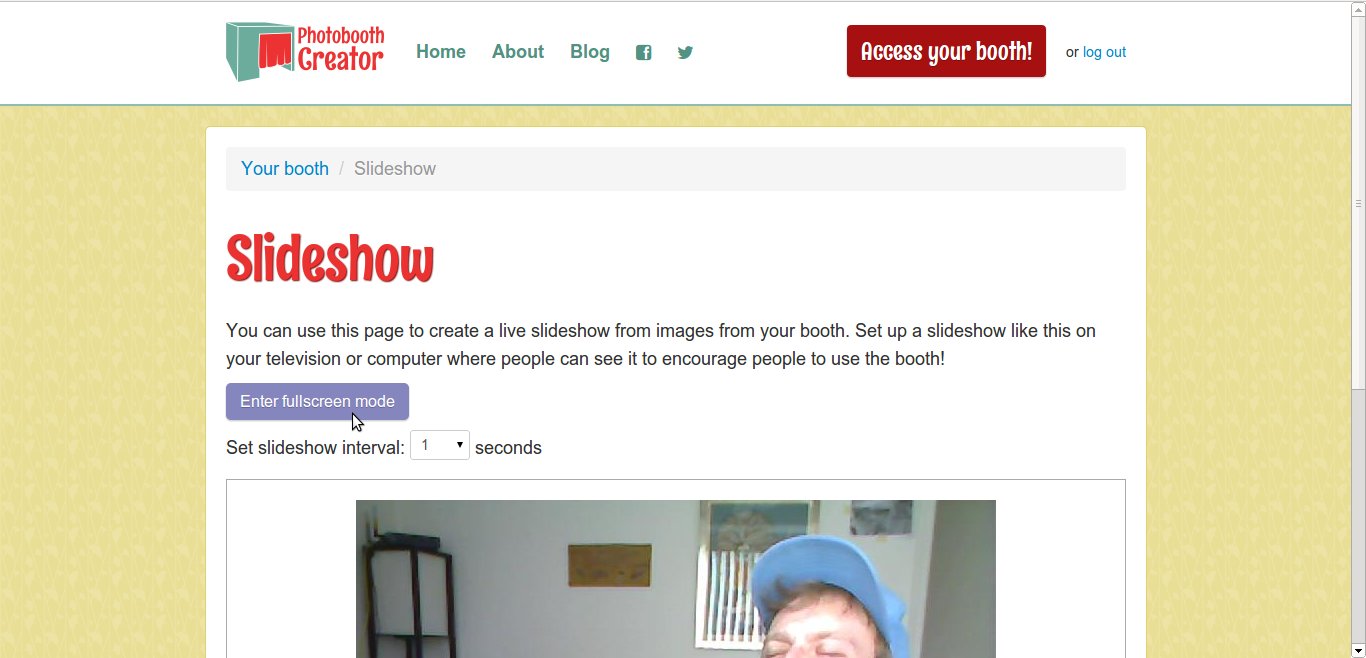
You can optionally set a timeout value from this screen. Feeling frantic? Choose 1 second.
Hook up your device to your screen, and click the "Enter fullscreen mode" button. Your device will go fullscreen and cycle through your pictures randomly.
As you take new pictures, they will appear automatically in the random rotation. At this point, you can leave your slideshow running for the duration of your party.
Tips
Here are a couple tips to get the most out of your slideshow.
Make it visible. Unlike the photobooth itself, which benefits from some isolation, your slideshow should be as front-and-center as you can make it. Having the party in the living room? Put it on the flatscreen. At the office? Bring the projector out into the main area. You want people to see the slideshow to encourage them to use the photobooth.
Take some seed shots. In my experience, the slideshow creates a sort of contest among the guests: who can produce the craziest picture? To get this going, you should take some crazy shots of yourself, and ideally take several. This way the slideshow doesn't repeat the image of you trying out the booth for the first time.
Thoughts? Feelings? Send me an email or holler at me on Twitter and let me know about them!