While I've striven to make Photobooth Creator as intuitive and
easy-to-use as possible, I'm sure many people still have questions about
how to get started and what exactly you can do with the photobooth once
you have made one. In this post, I'm going to explain the steps needed
to make your homemade online photobooth with Photobooth Creator, and
provide some hints to get the most out of it once you have it.
The steps
There are many ways you can make this process shorter, but these are the
steps I use when I create my own photobooth.
1. Create a photobooth
When you create your booth using Photobooth Creator, you will have one week (7 days)
before the booth expires; for most parties that means you have
plenty of lead time to get the rest of the setup done before your party
kicks off. I create my booth the morning of the party, so that I have
several hours to physically set everything up and test it before people
start showing up.
The creation process itself is pretty straightforward.
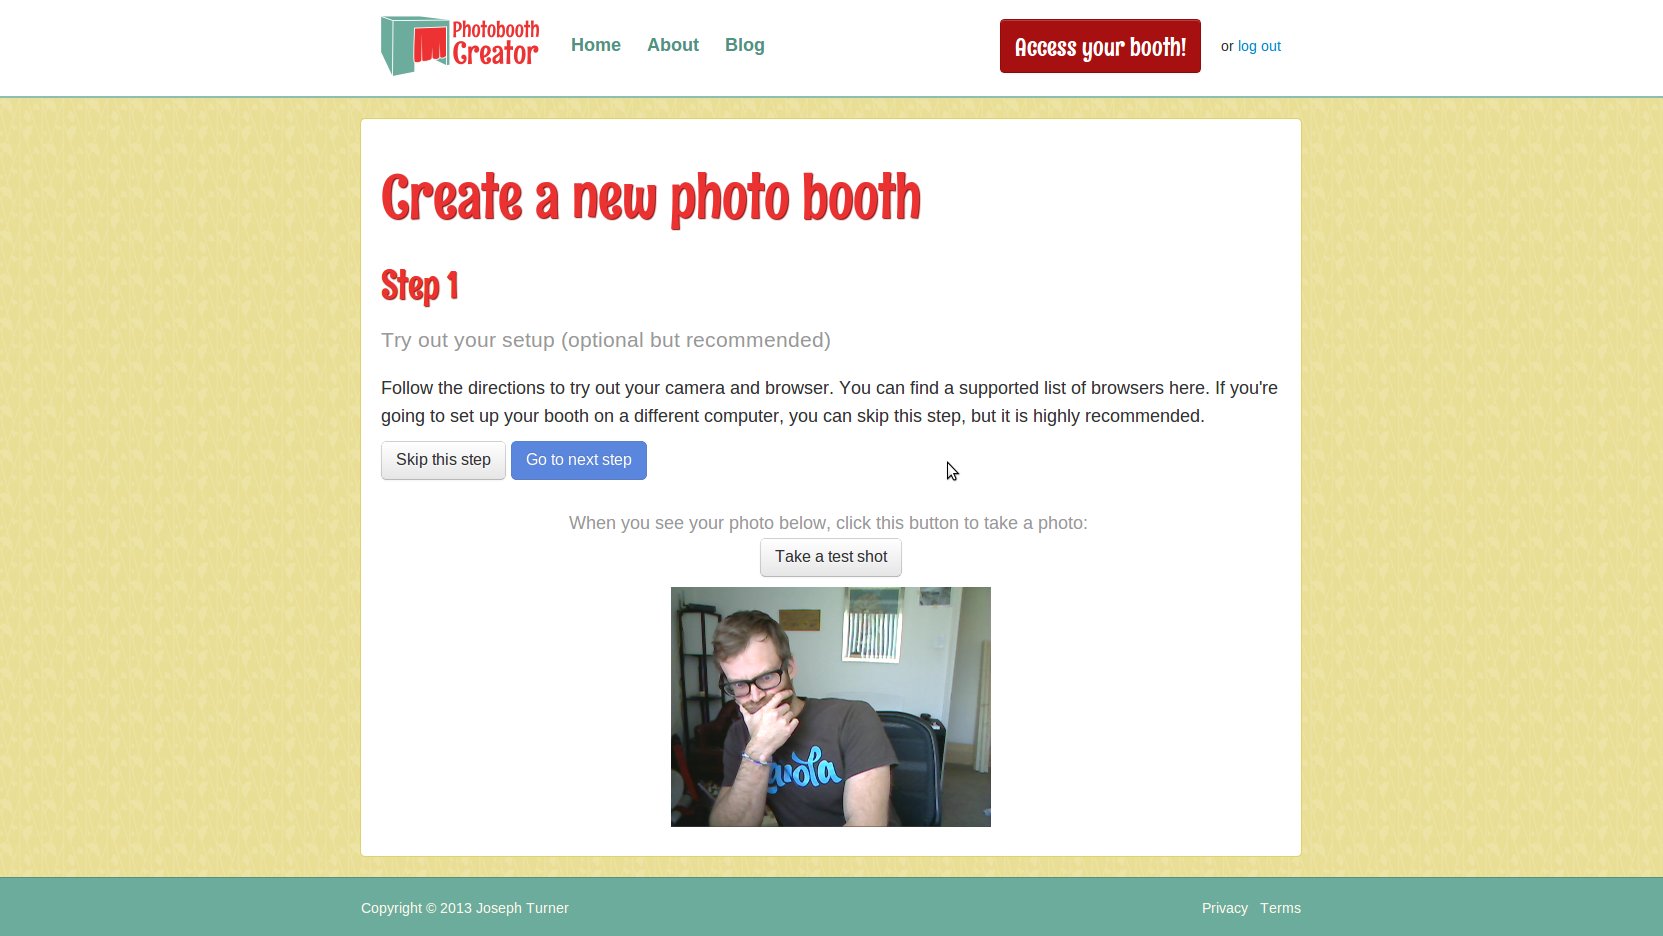
On the first
creation page, you are encouraged to test out your webcam. This is a
good idea, because the last thing you want to do is scramble around
having to find a spare webcam at the last minute. Follow the steps to
enable your webcam, and click the picture to take a test shot. You'll
probably have to enable your webcam again once your booth is created, so
it's good to familiarize yourself with the process.
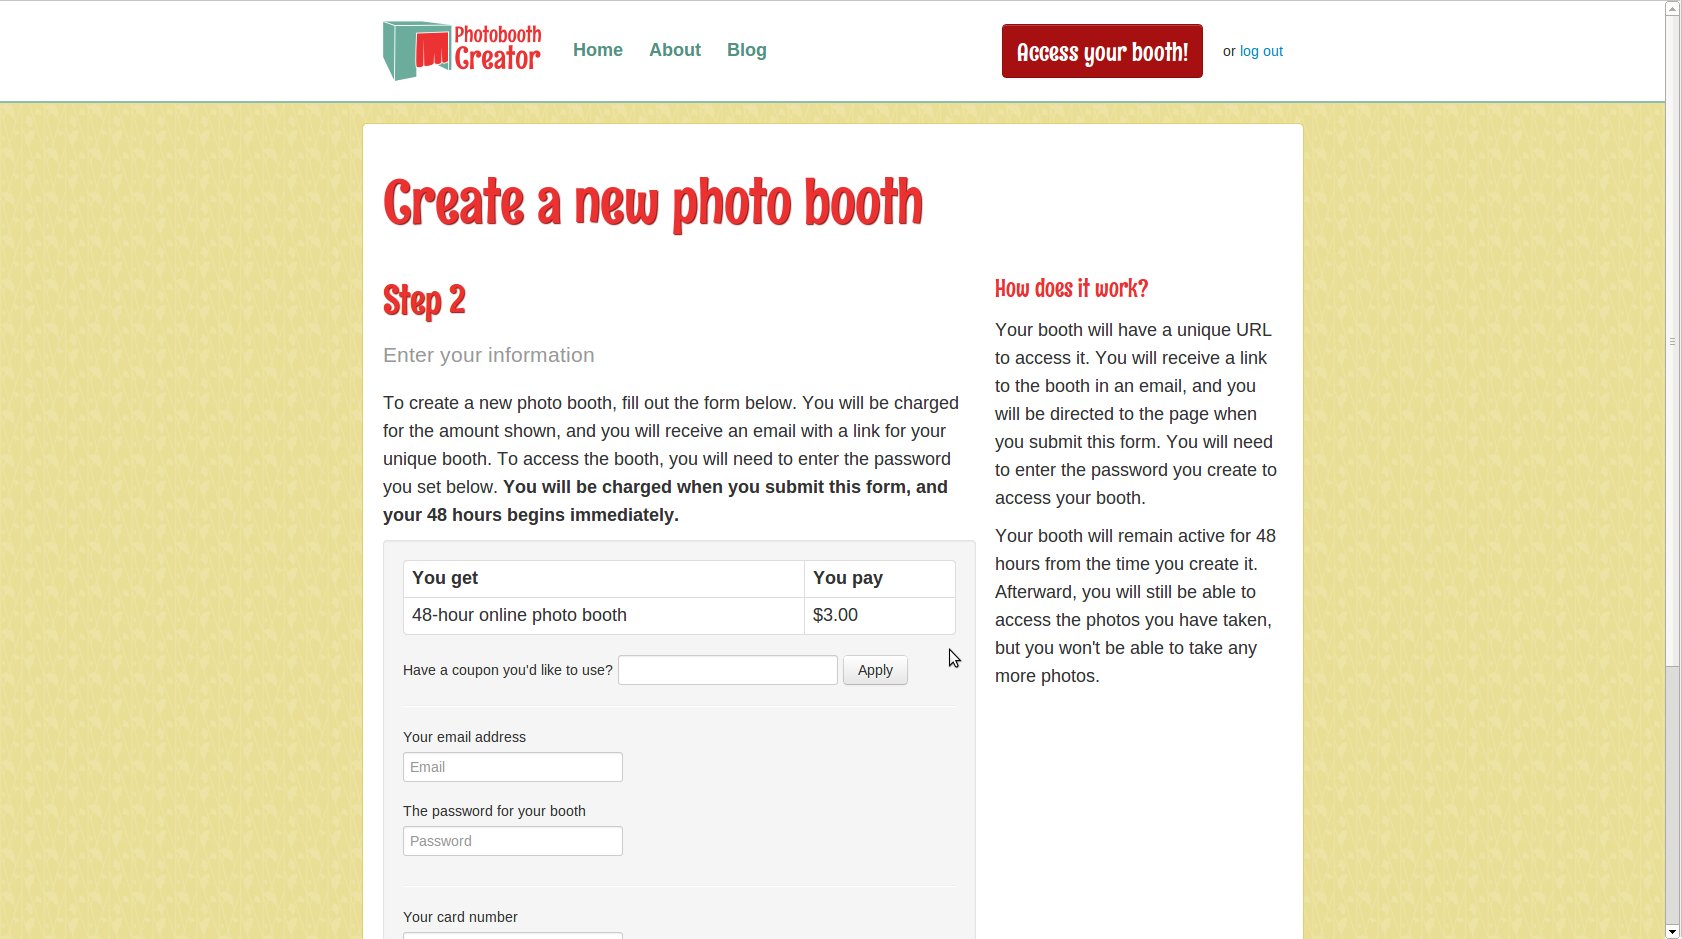
Once you've taken a test shot, go to the next step to check out. You'll
be prompted for your credit card info, as well as an email address and
password. Make sure to use a real email address and don't forget your
password! You will receive a unique link to your booth via the email,
and you'll have to type the password in to access the booth.
2. Log in and look around
After you submit the creation form, you'll be taken to your booth -- but
wait, you'll need to type in your password first!
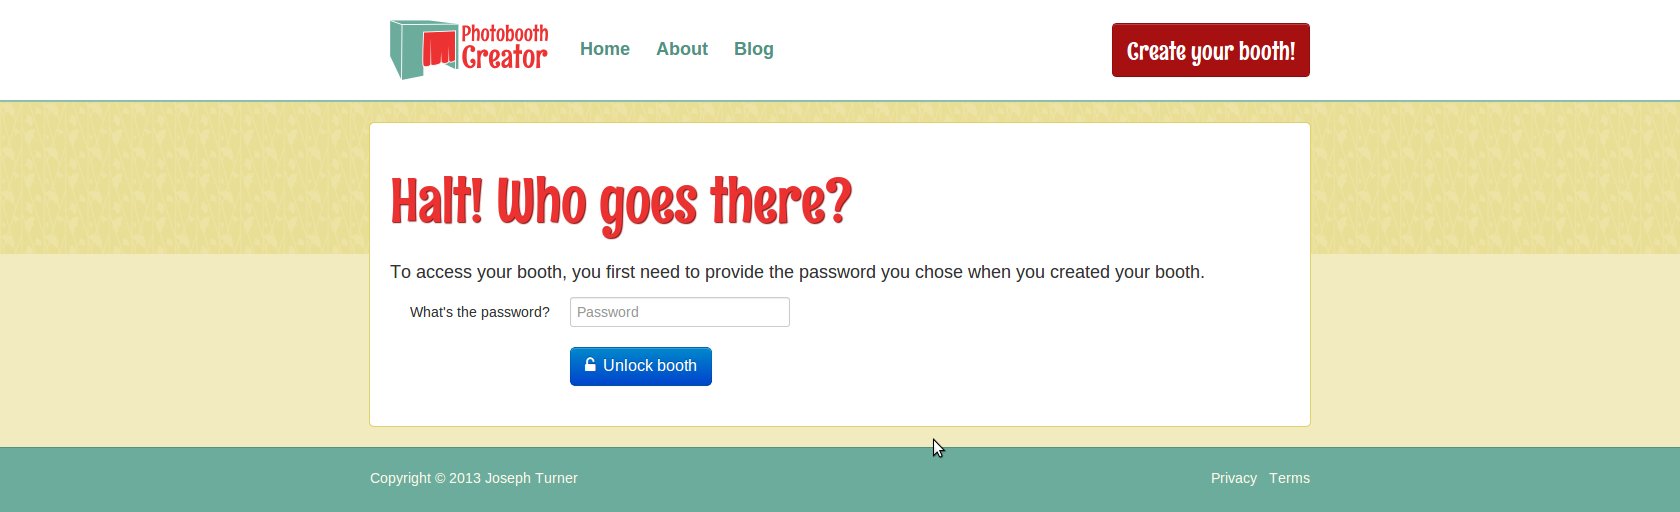
This is the same
password you created as part of the checkout process. Once you've
successfully entered your password, you'll be taken to the booth admin
page.
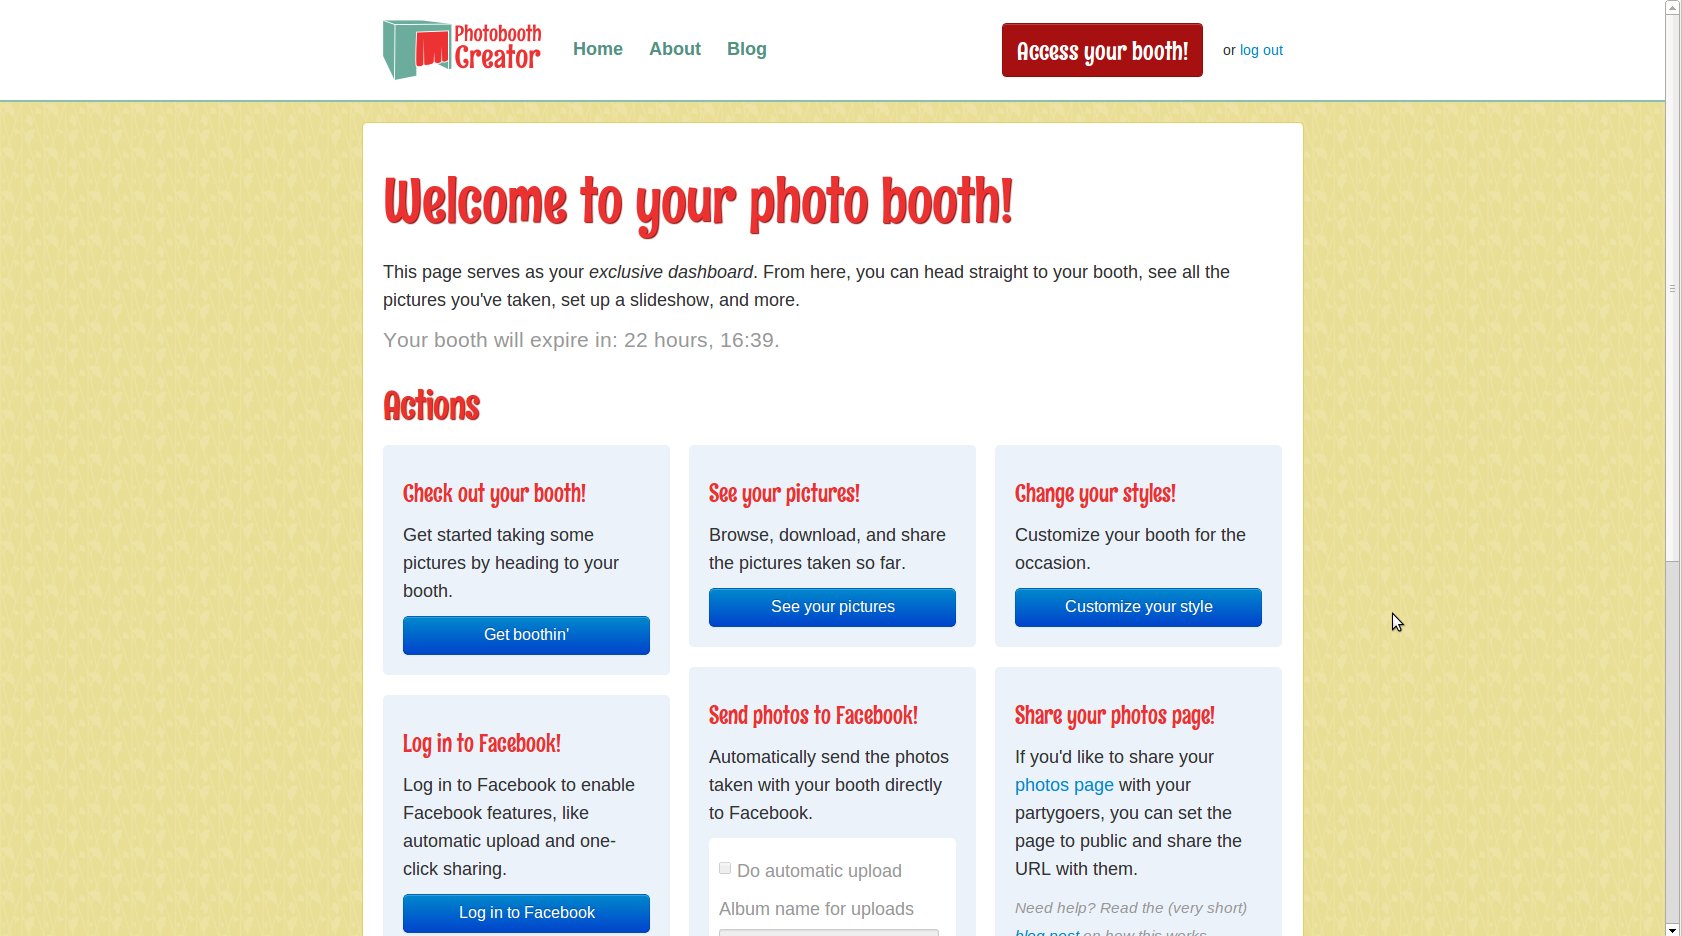
This page serves as the hub for all of the features of Photobooth
Creator. Each of the options has a description, but here are a two of
the most important:
- Check out your booth! This takes you to the photobooth itself,
where you can start taking pictures.
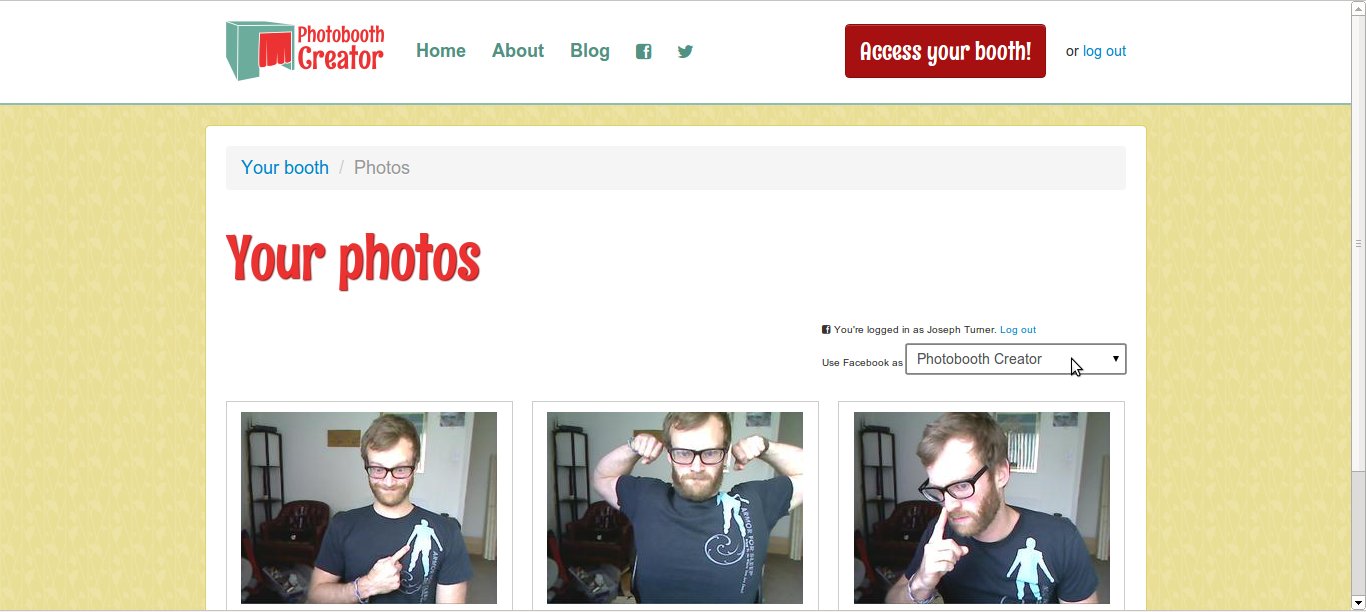
- See your pictures! This takes you to a page with all of your
photos you've taken (so far).
3. Customize your booth and check it out (optional)
Another option on the booth admin page is Change your styles! If you click the
associated button, you can change the title, colors, and other
stylistic details of your booth. Head there now to pick out a style that
fits your party.
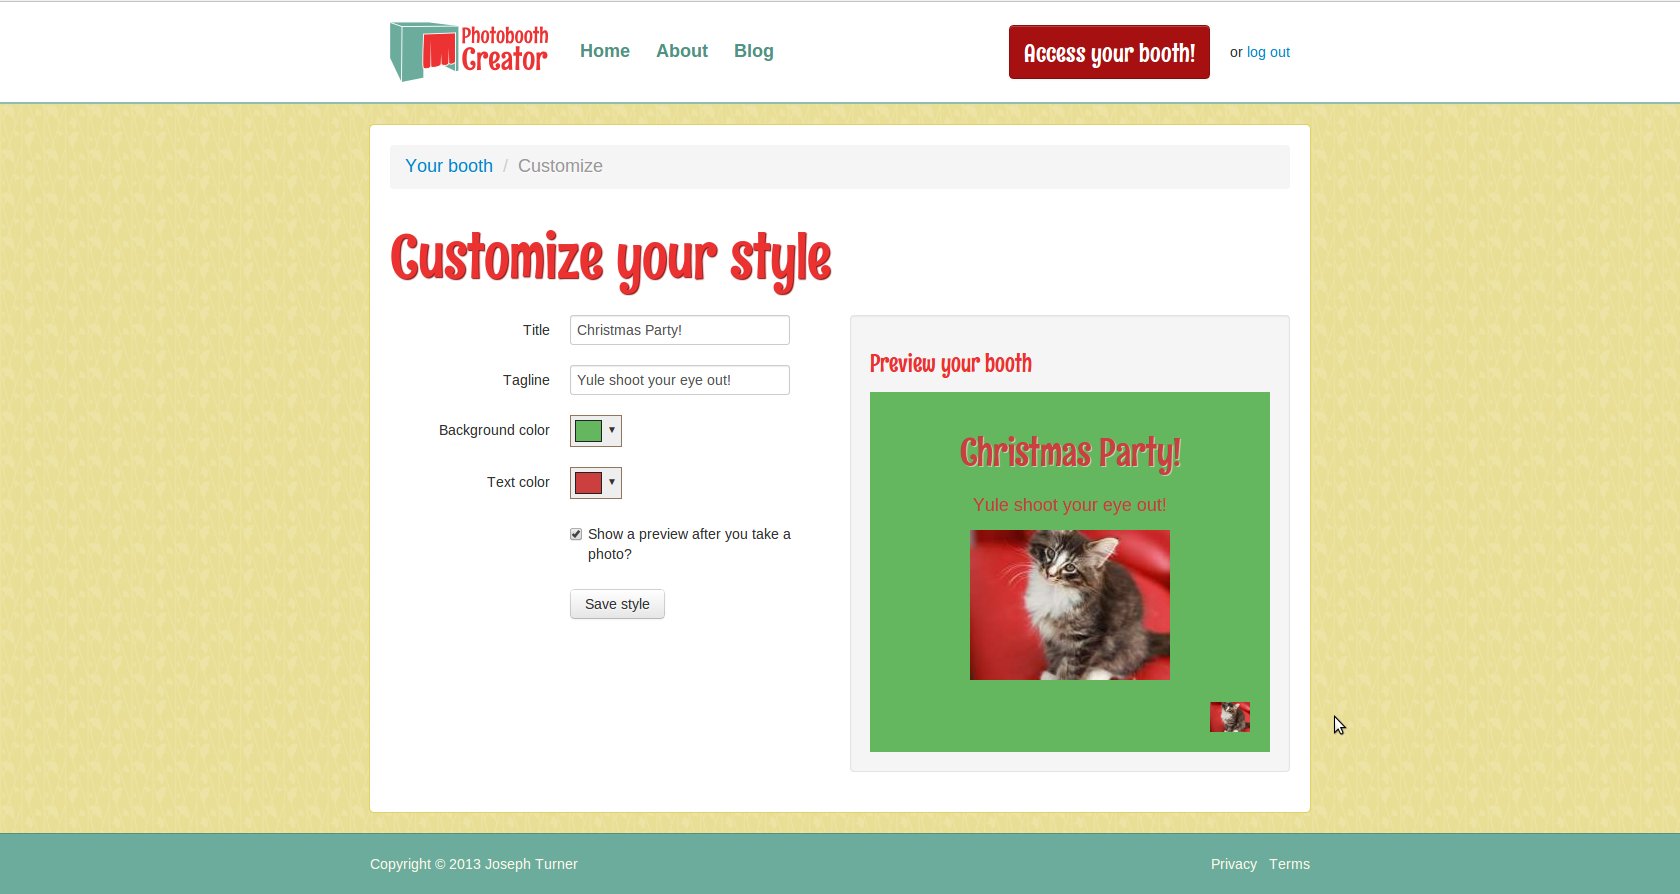
You'll see a preview of the style you've chosen on that page, but to get
the full effect, you'll need to go to the booth itself. Head back to the
booth admin page and choose the option under Check out your booth!
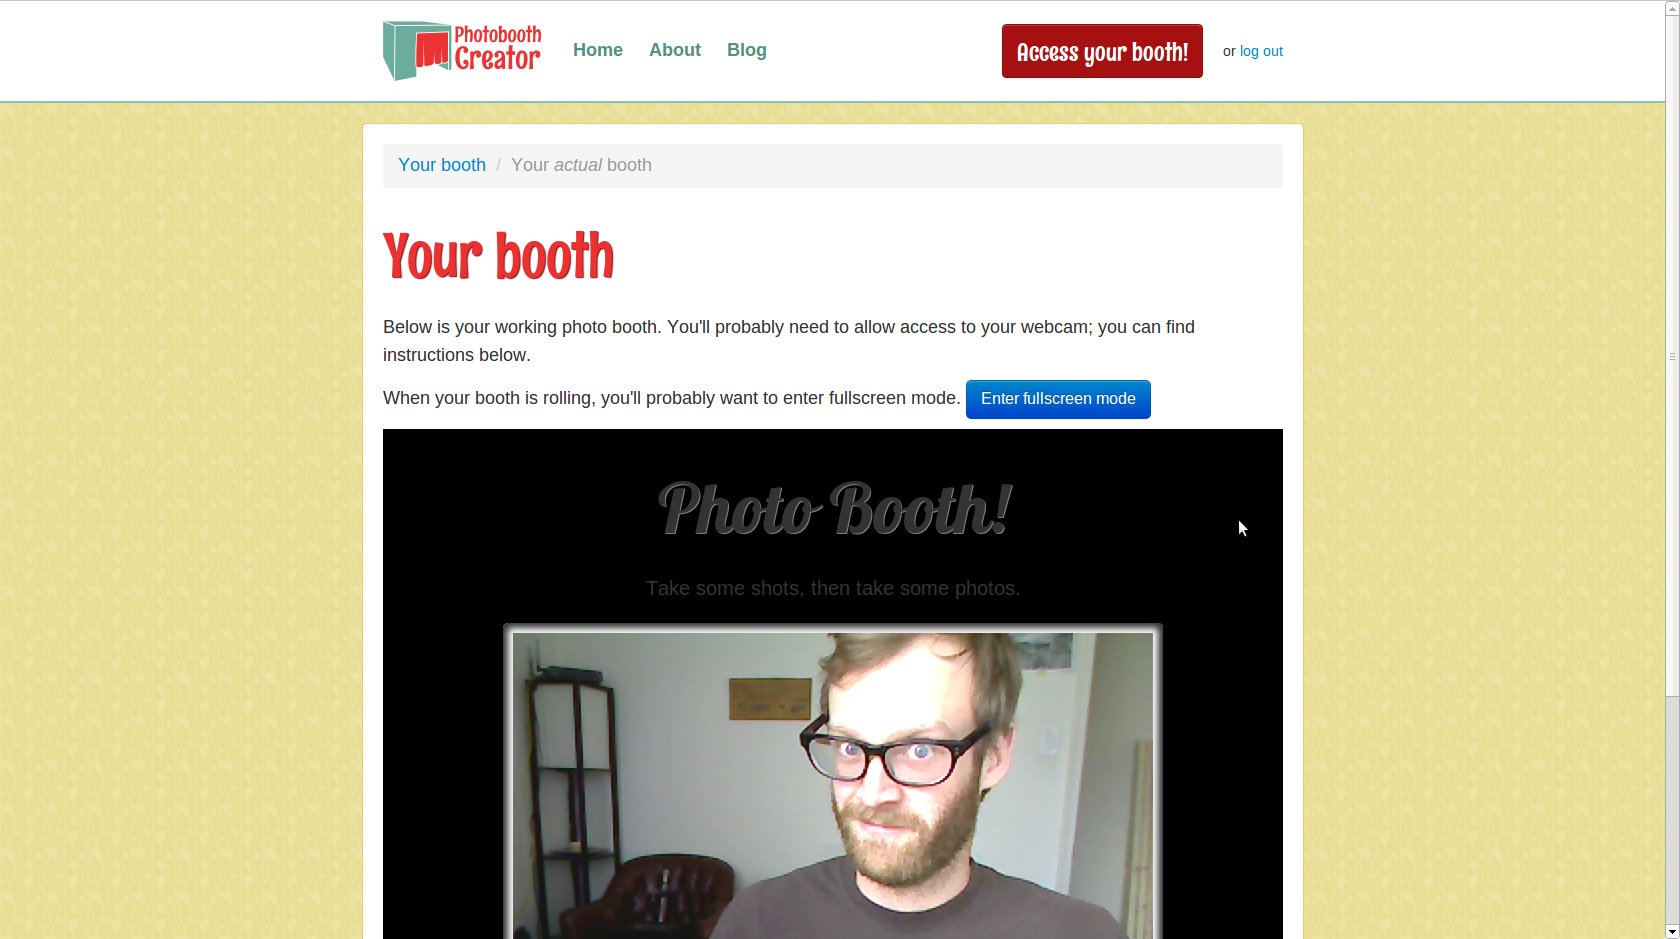
When you get there, you'll need to enable your camera like you did
during the checkout process (you didn't skip that step did you??).
Afterwards, hit the button to go to fullscreen mode. You're in your
booth! If you don't like your styles, you're free to change them again
as needed.
4. Set up the physical aspect of your booth
There are lots and lots of different physical presentations for your
booth. I've already outlined my preferred set up, 'The
Basic' and
simpler but less satisfying, 'The Super
Basic', but there
are many other options to choose from. Regardless, you should check out
the notes in the article for 'The Basic'; it includes helpful tips on
things like lighting and backdrops.
5. Set up a slideshow (optional)
One of the neat features of Photobooth Creator is the Set up a
slideshow! option on the booth admin page. With this feature, you can
set up a random slideshow of photos you've taken so far with your booth
using another computer. This works particularly well at office parties,
where you can set up the slideshow on a projector in the party. Seeing
the pictures come up as they are being taken encourages folks to go take
more pictures.
Setting up the slideshow is easy. On another computer, head to the booth
URL that you received in your welcome email. Since this is a new
computer, you'll need to type in the password you created again. Once
you're logged in, click on the button under Set up a slideshow!
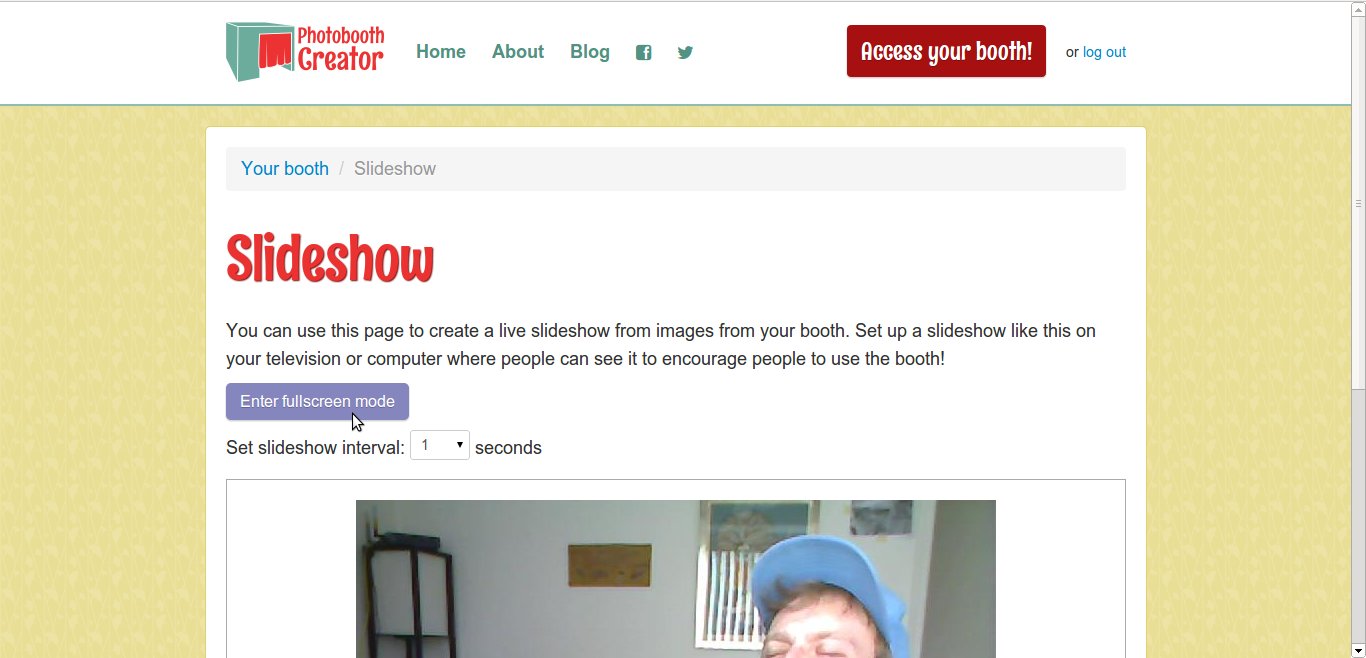
On
this page, you can choose a new slideshow interval, then, like in the
booth itself, go into fullscreen mode. For better results, hook this
slideshow computer (hopefully a laptop or tablet) up to a television,
projector, or other large screen in sight of the main party location.
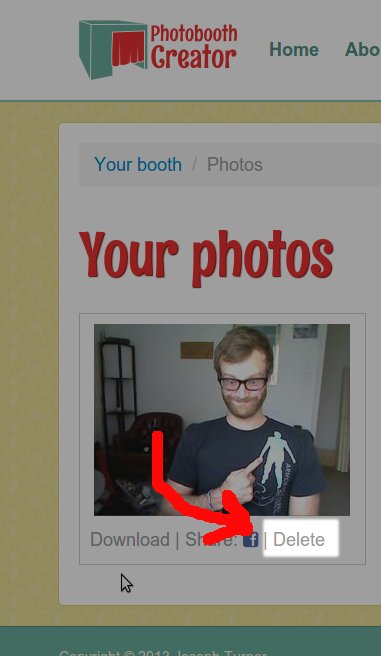
6. Share your photos (during/after the party)
In an earlier article,
I described the various sharing options you have
with Photobooth Creator, from downloading the pictures yourself to doing
automatic sharing via Facebook. Choose the appropriate level of sharing
for your party, but make sure to share! Everyone wants to see the
pictures from the booth, and maybe particularly so if the alcohol is
flowing freely.
7. Let me know how it went! (optional, but recommended :) )
Did you enjoy your photobooth? Did you run into any trouble? Did you
think of anything you wish it could do but didn't? I'd love to hear from
you. Just send me an email at photoboothcreator (at) gmail (dot) com.